
Masks part two
May 14, 2020Well odd as this will sound yesterday went so smoothly I didn’t get chance to work on masks other than my before breakfast quiet time.
For those who don’t know I am still quilting for customers. I was only taking them by post but now the travel restrictions have eased I will also take contactless drop off. All quilts will be quarantined, same as everything else that comes into my home, then quilted. So if you have a stack of new quilt tops after being stuck at home, yes I can quilt them for you. I also have backings and weddings if needed and some basic sewing supplies. I do have plenty of parking space, you will not be on a road and exposed to other humans. I took in the first delivered quilt yesterday and I think we were both happy with the process. The customer even found my house from my directions, which is always reassuring.
I finished the quilt that was on the frame, and I am considering loading a small one of mine soon. I had forgotten how much I enjoy free hand quilting. It seems all the quilts for a while have been rulers and ditch work. I can do it, I like the effect but I really don’t love the process. I let rip on the borders of the last quilt and it felt amazing, I really want to do more of that. Lol I suppose that means if you have a quilt that needs an all over I would be thrilled to quilt it. Seems crazy that I am seeking to quilt things where my quilting will probably not show ,such, but honestly it was so much fun.
I also had a clearing quarantine session yesterday. It seems deliveries always come in lumps, filling quarrentine. My cupboards become empty, I start to worry, then things clear quarantine and I find I am well stocked again. It really does feel like each round of shopping is now three shopping trips. Ordering, aka creating the wish list because you never get what you order now, delivery, that exciting yet disappointing moment, and finally actually getting the goods and putting them away. Before covid I hated the putting away bit, now it is my favourite part. I like the space where the things had quarantined and the full shelves, both are much more satisfying than wishing and paying.
So back to masks before I go and make the bread for today’s lunch. I think I said yesterday that after a lot of research I decided to go with a cup shape masks with a center front seam. This should be the most comfortable and durable from what I can see. I found two patterns that get good reviews and had the shape and features I was looking for.
https://www.craftpassion.com/face-mask-sewing-pattern/
This one seems to be about the most popular out there. It’s a good general shape and fits most people pretty well. It comes in multiple sizes and it looks like hundreds of thousands of these have been made and are in use. I won’t say that the majority is always right, but it is also one of the ones requested by hospitals, and I think they probably know their masks. This is the pattern I will be using for community masks. It is a good general purpose pattern. The second pattern I found is the one I am going to try for myself. Why am I making mine differently? I have access to me, so I can tweak the fit, I don’t have access to everyone else. So for mine I am going to try for the best fit I can.
https://media.rainpos.com/220/personal_mask.pdf
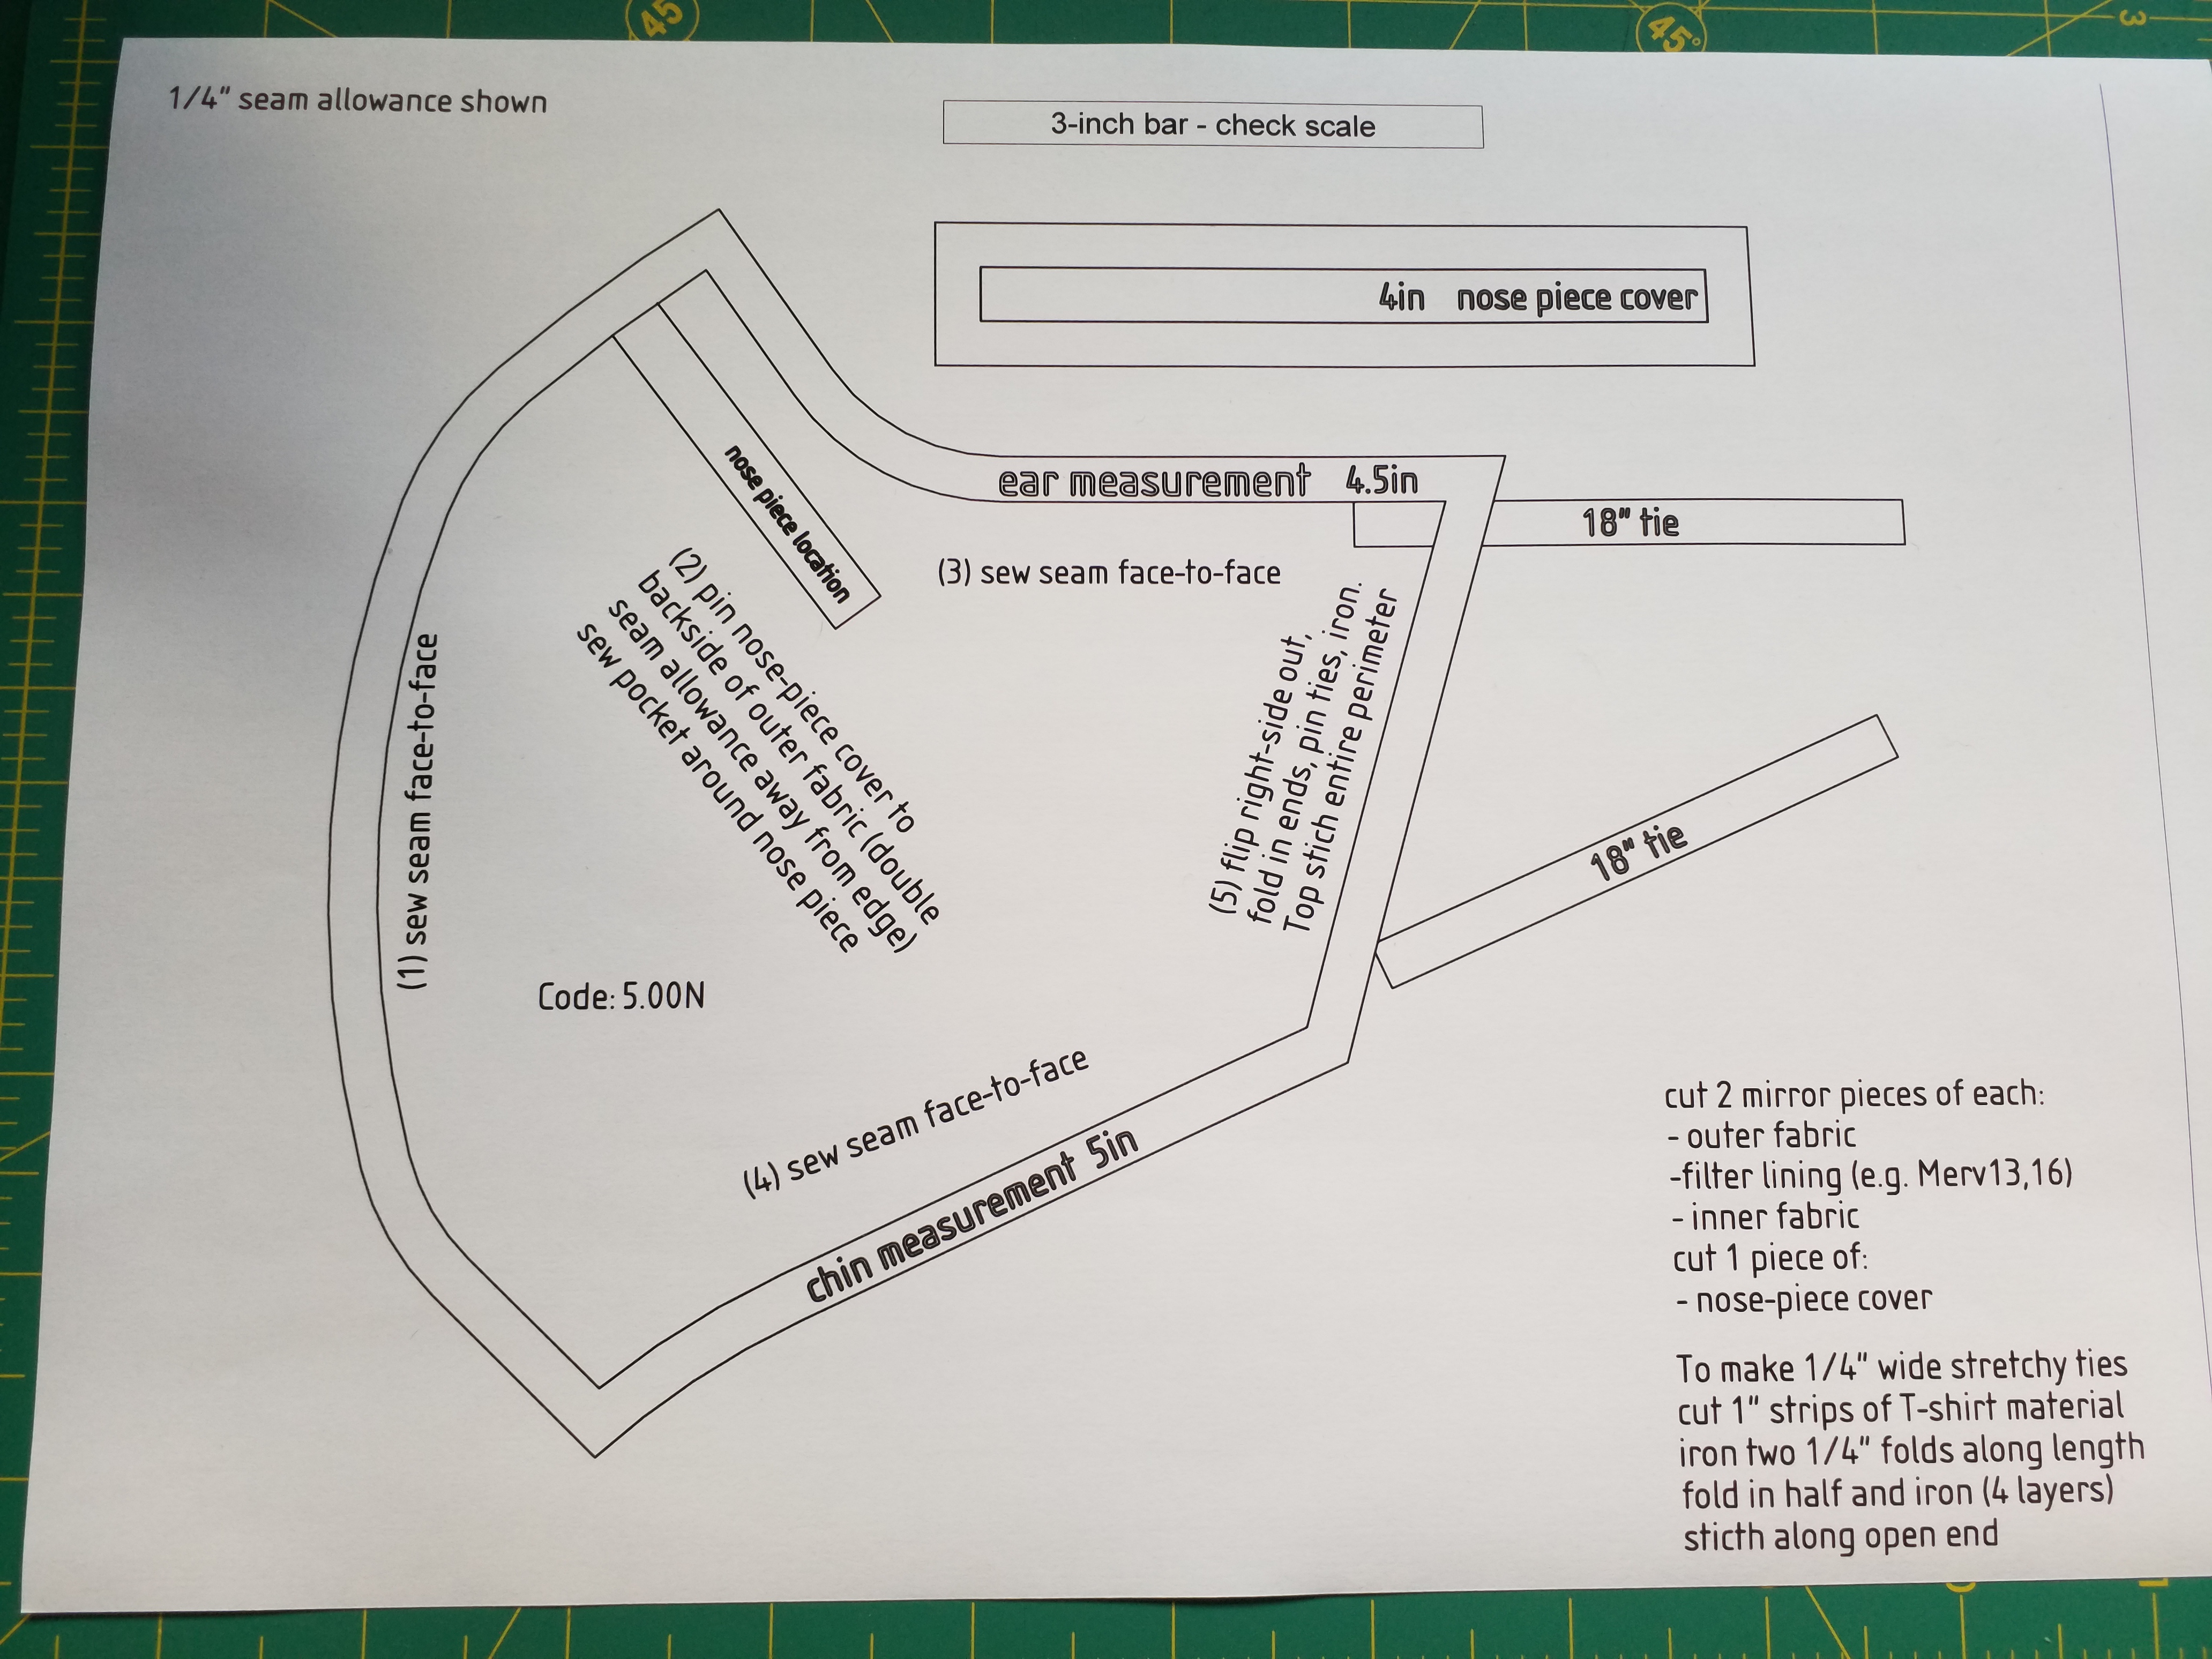
Well that was harder than it should be, my paste function doesn’t want to work. This mask pattern has been tweaked by an engineer, he wanted more fabric under the chin, which I also want and he wanted a more custom fit. This pattern has eight sizes so there aught to be a decent fit for most people. I took my measurements and made my first guess as to my size. Yup, it’s a guess, educated maybe but measurements never tell you everything about fit.
I pulled a fabric I don’t love from my stash, I can say an American fat quarter will be enough to make 2 test mask, or I suppose 2 real mask duh!
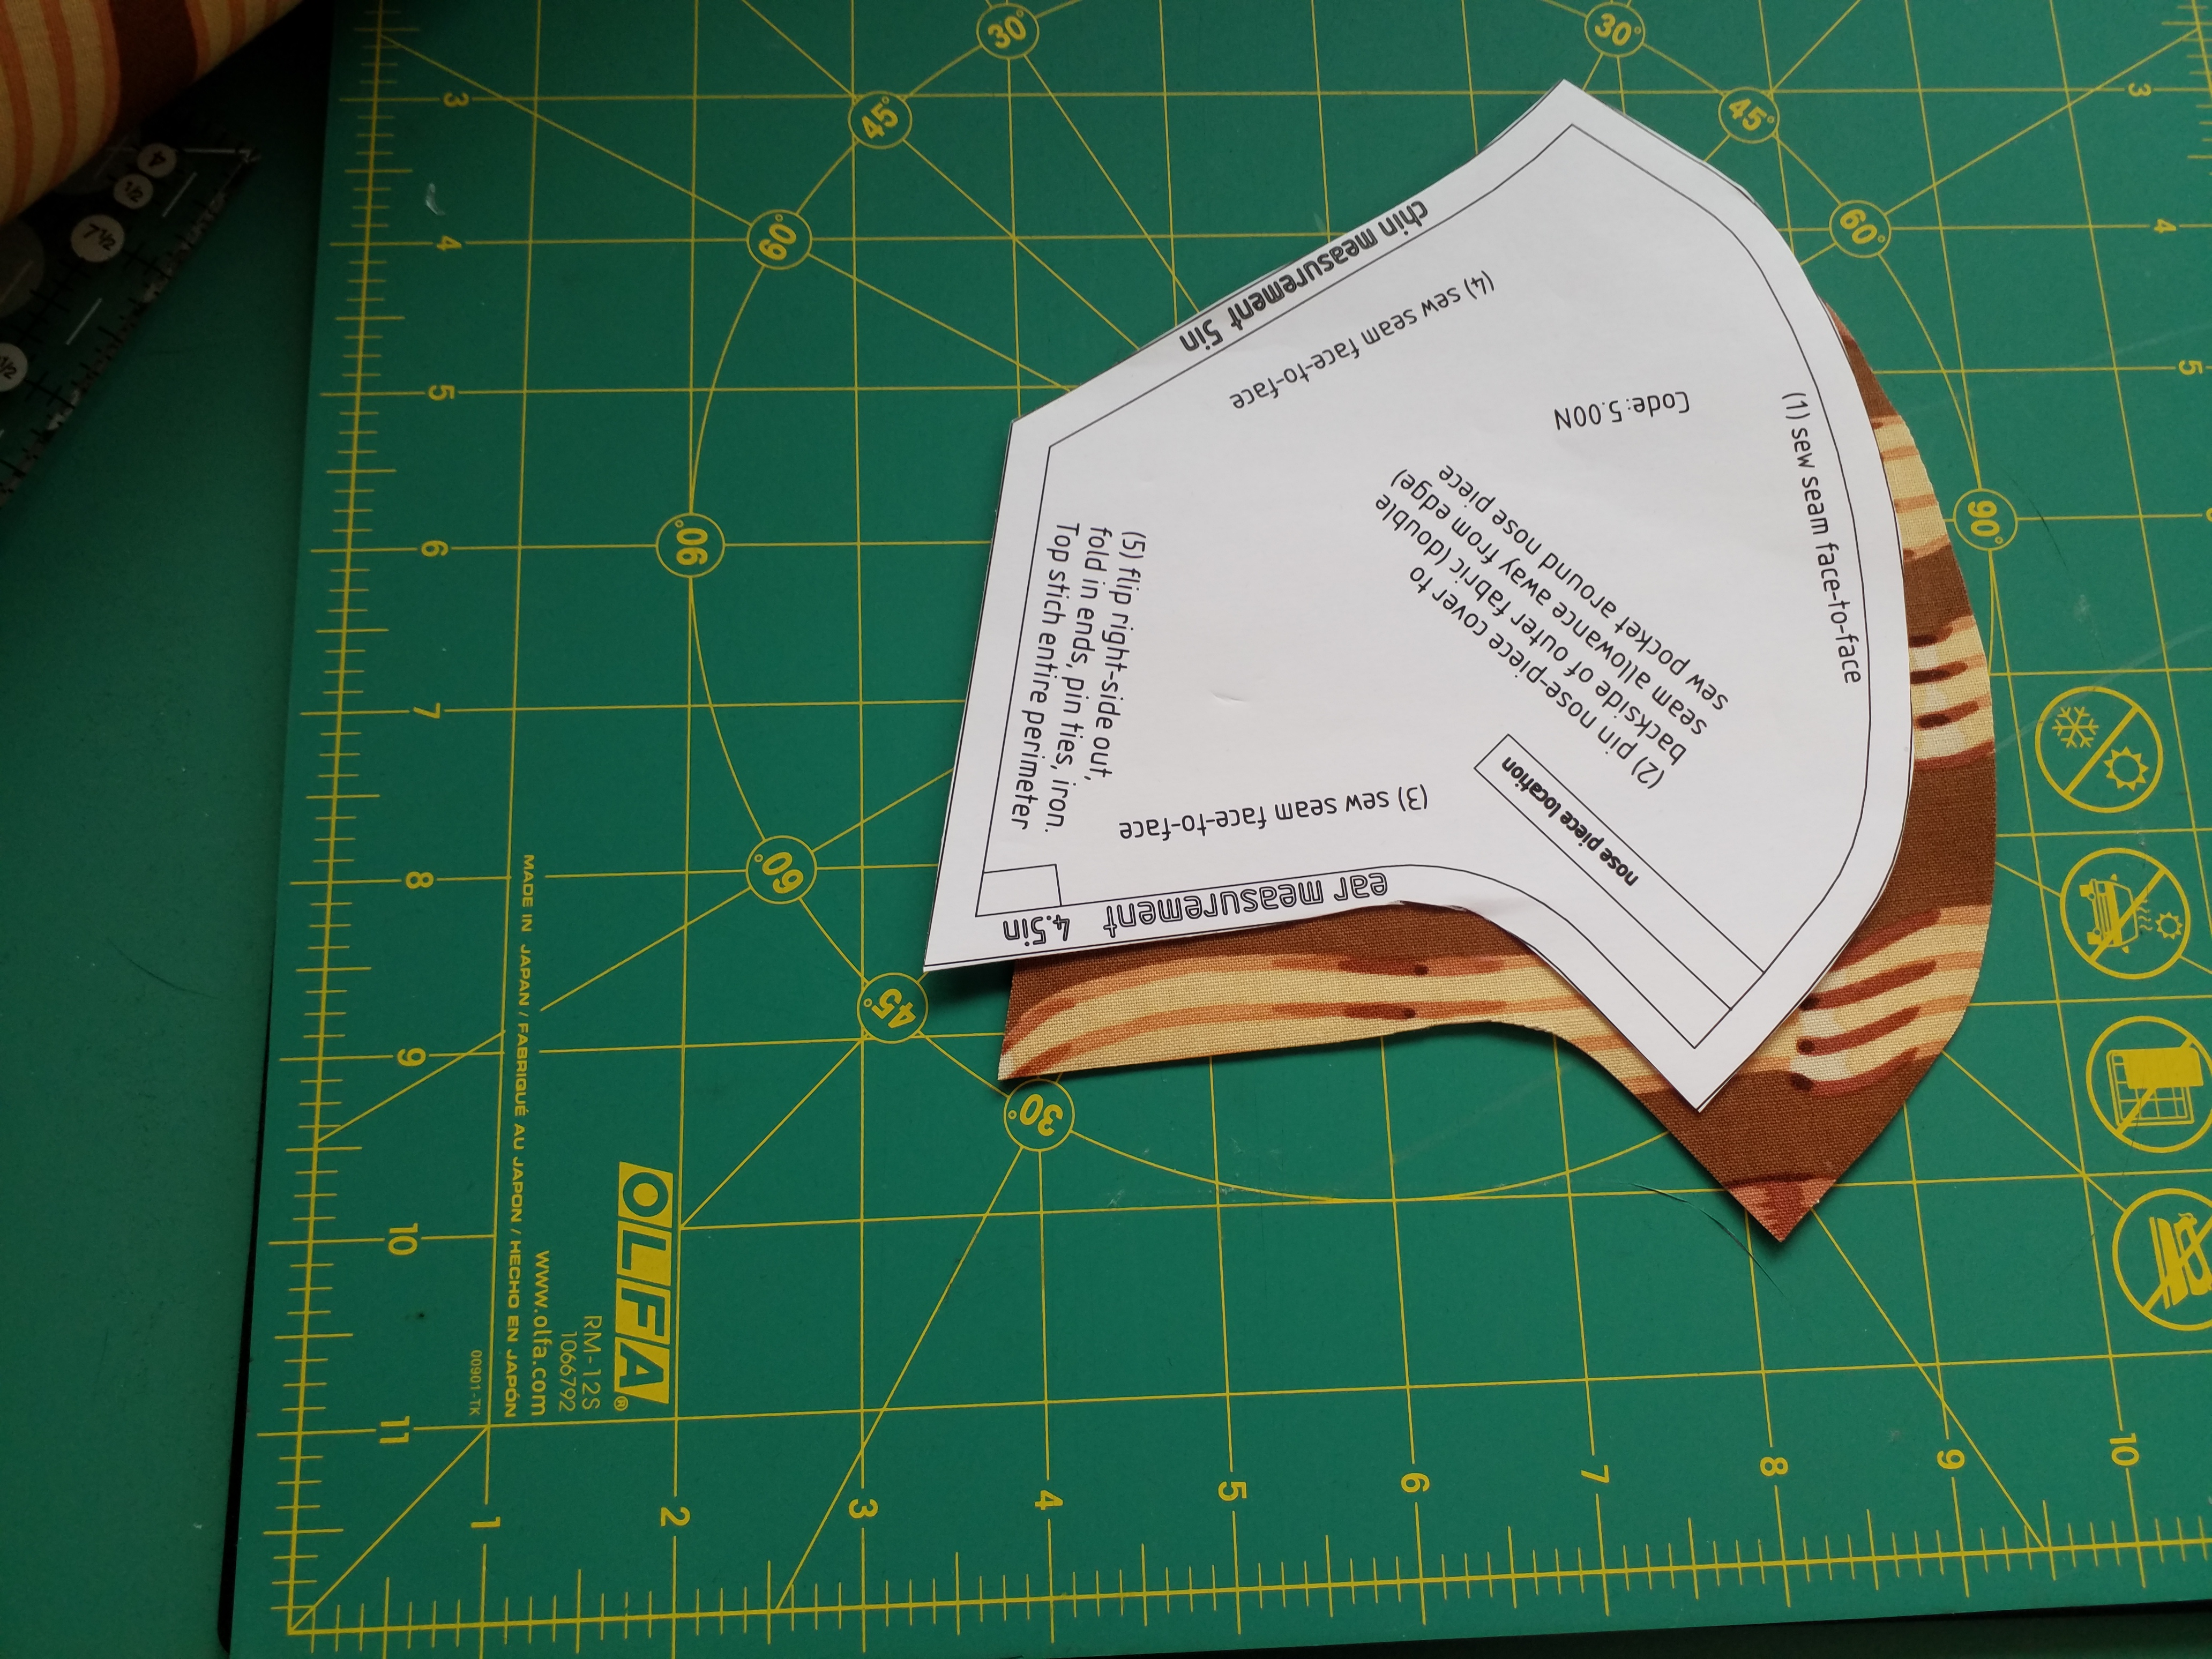
Having cut my first two pieces I have learned two things. Firstly, I use a 60mm cutter pretty much all the time. I find it a lot easier on my hands and wrists. However there are a few projects it doesn’t work so well for. This is one of them. The nose curve is just a shade too tight for a 60mm cutter. I will switch to the 45mm for future mask making, maybe even scissors for some, but that’s another story. I also realised that if I cut the fabrics right sides together it will save me a step. Why cut then flip them to sew when they could come off the cutting mat aligned. The curve is a very nice shape to sew I was really happy with that, and the pattern is designed with a quarter inch seam, so all the quilters will find that pretty easy too.
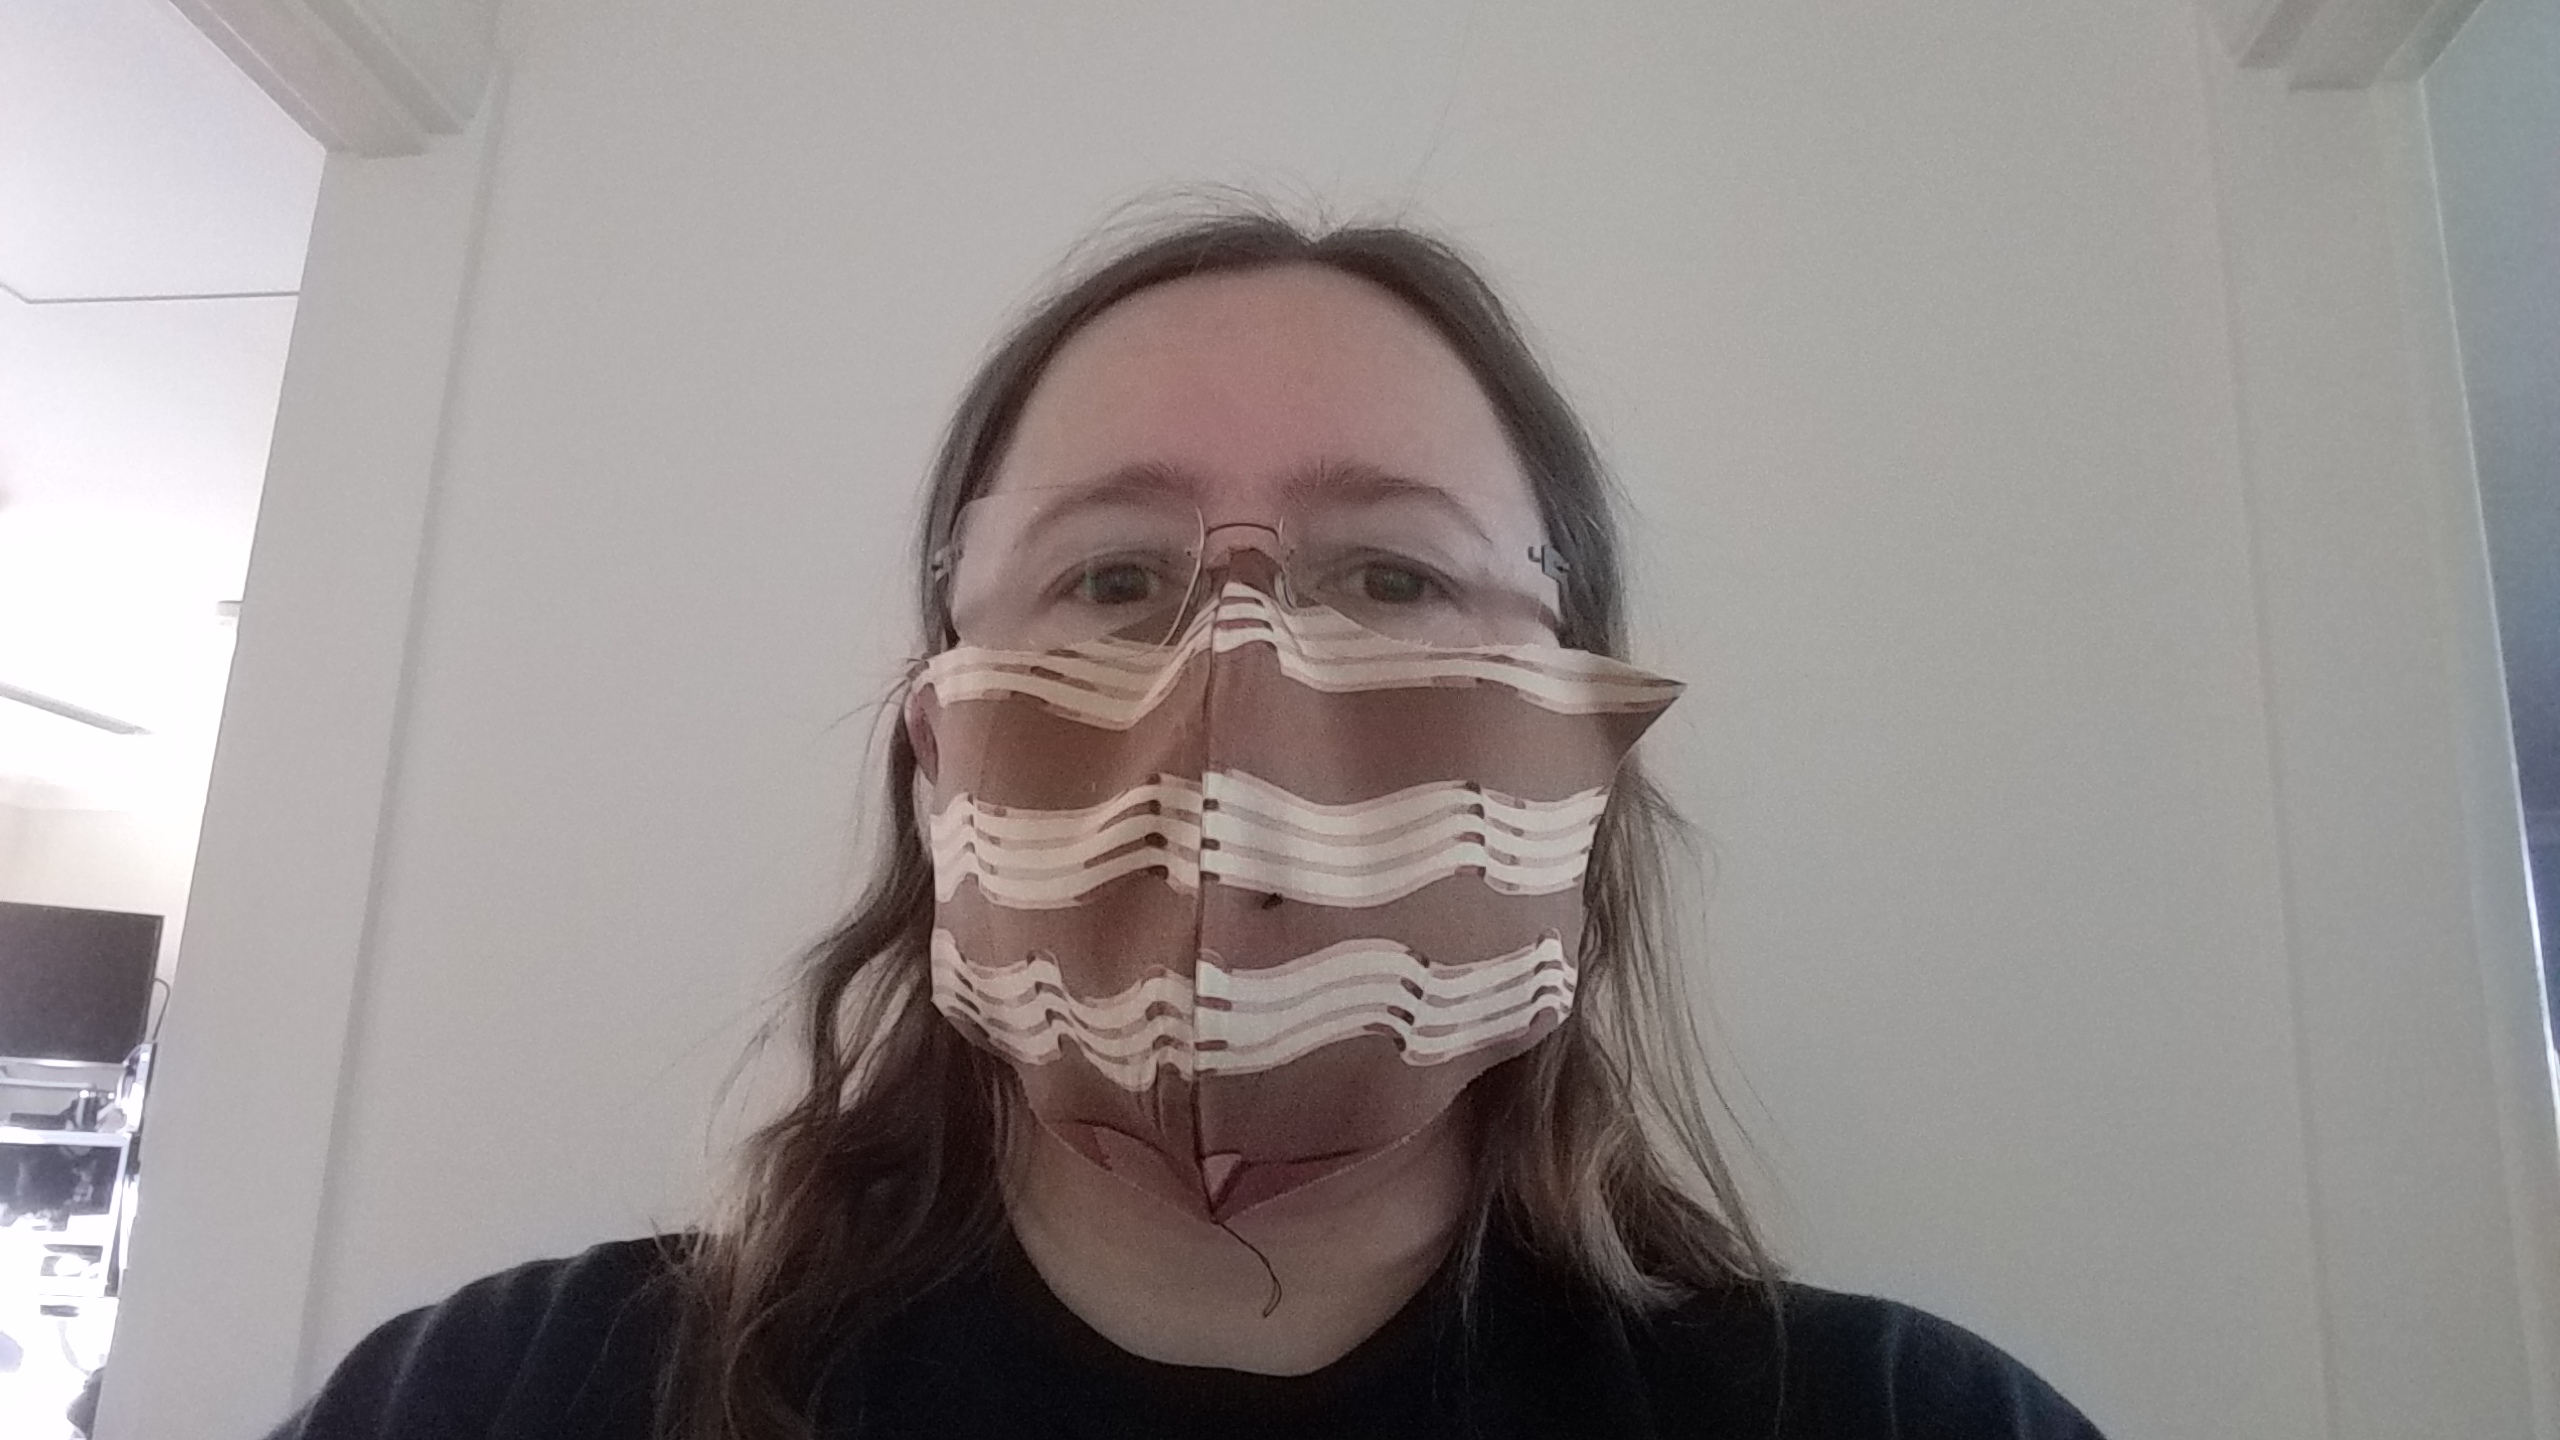
I tried on this first layer, it looks promising, but remember at the moment it still has seam allowance on. That worried me a little, it’s sufficiently close to right now this make come up a bit small once I get the lining in, well let’s give it a go. Oh, pressing, for speed press flat. Just one half on top of the other. If you have a tailors ham and it’s a mask you are custom fitting, press over the ham it will make a much nicer shape.
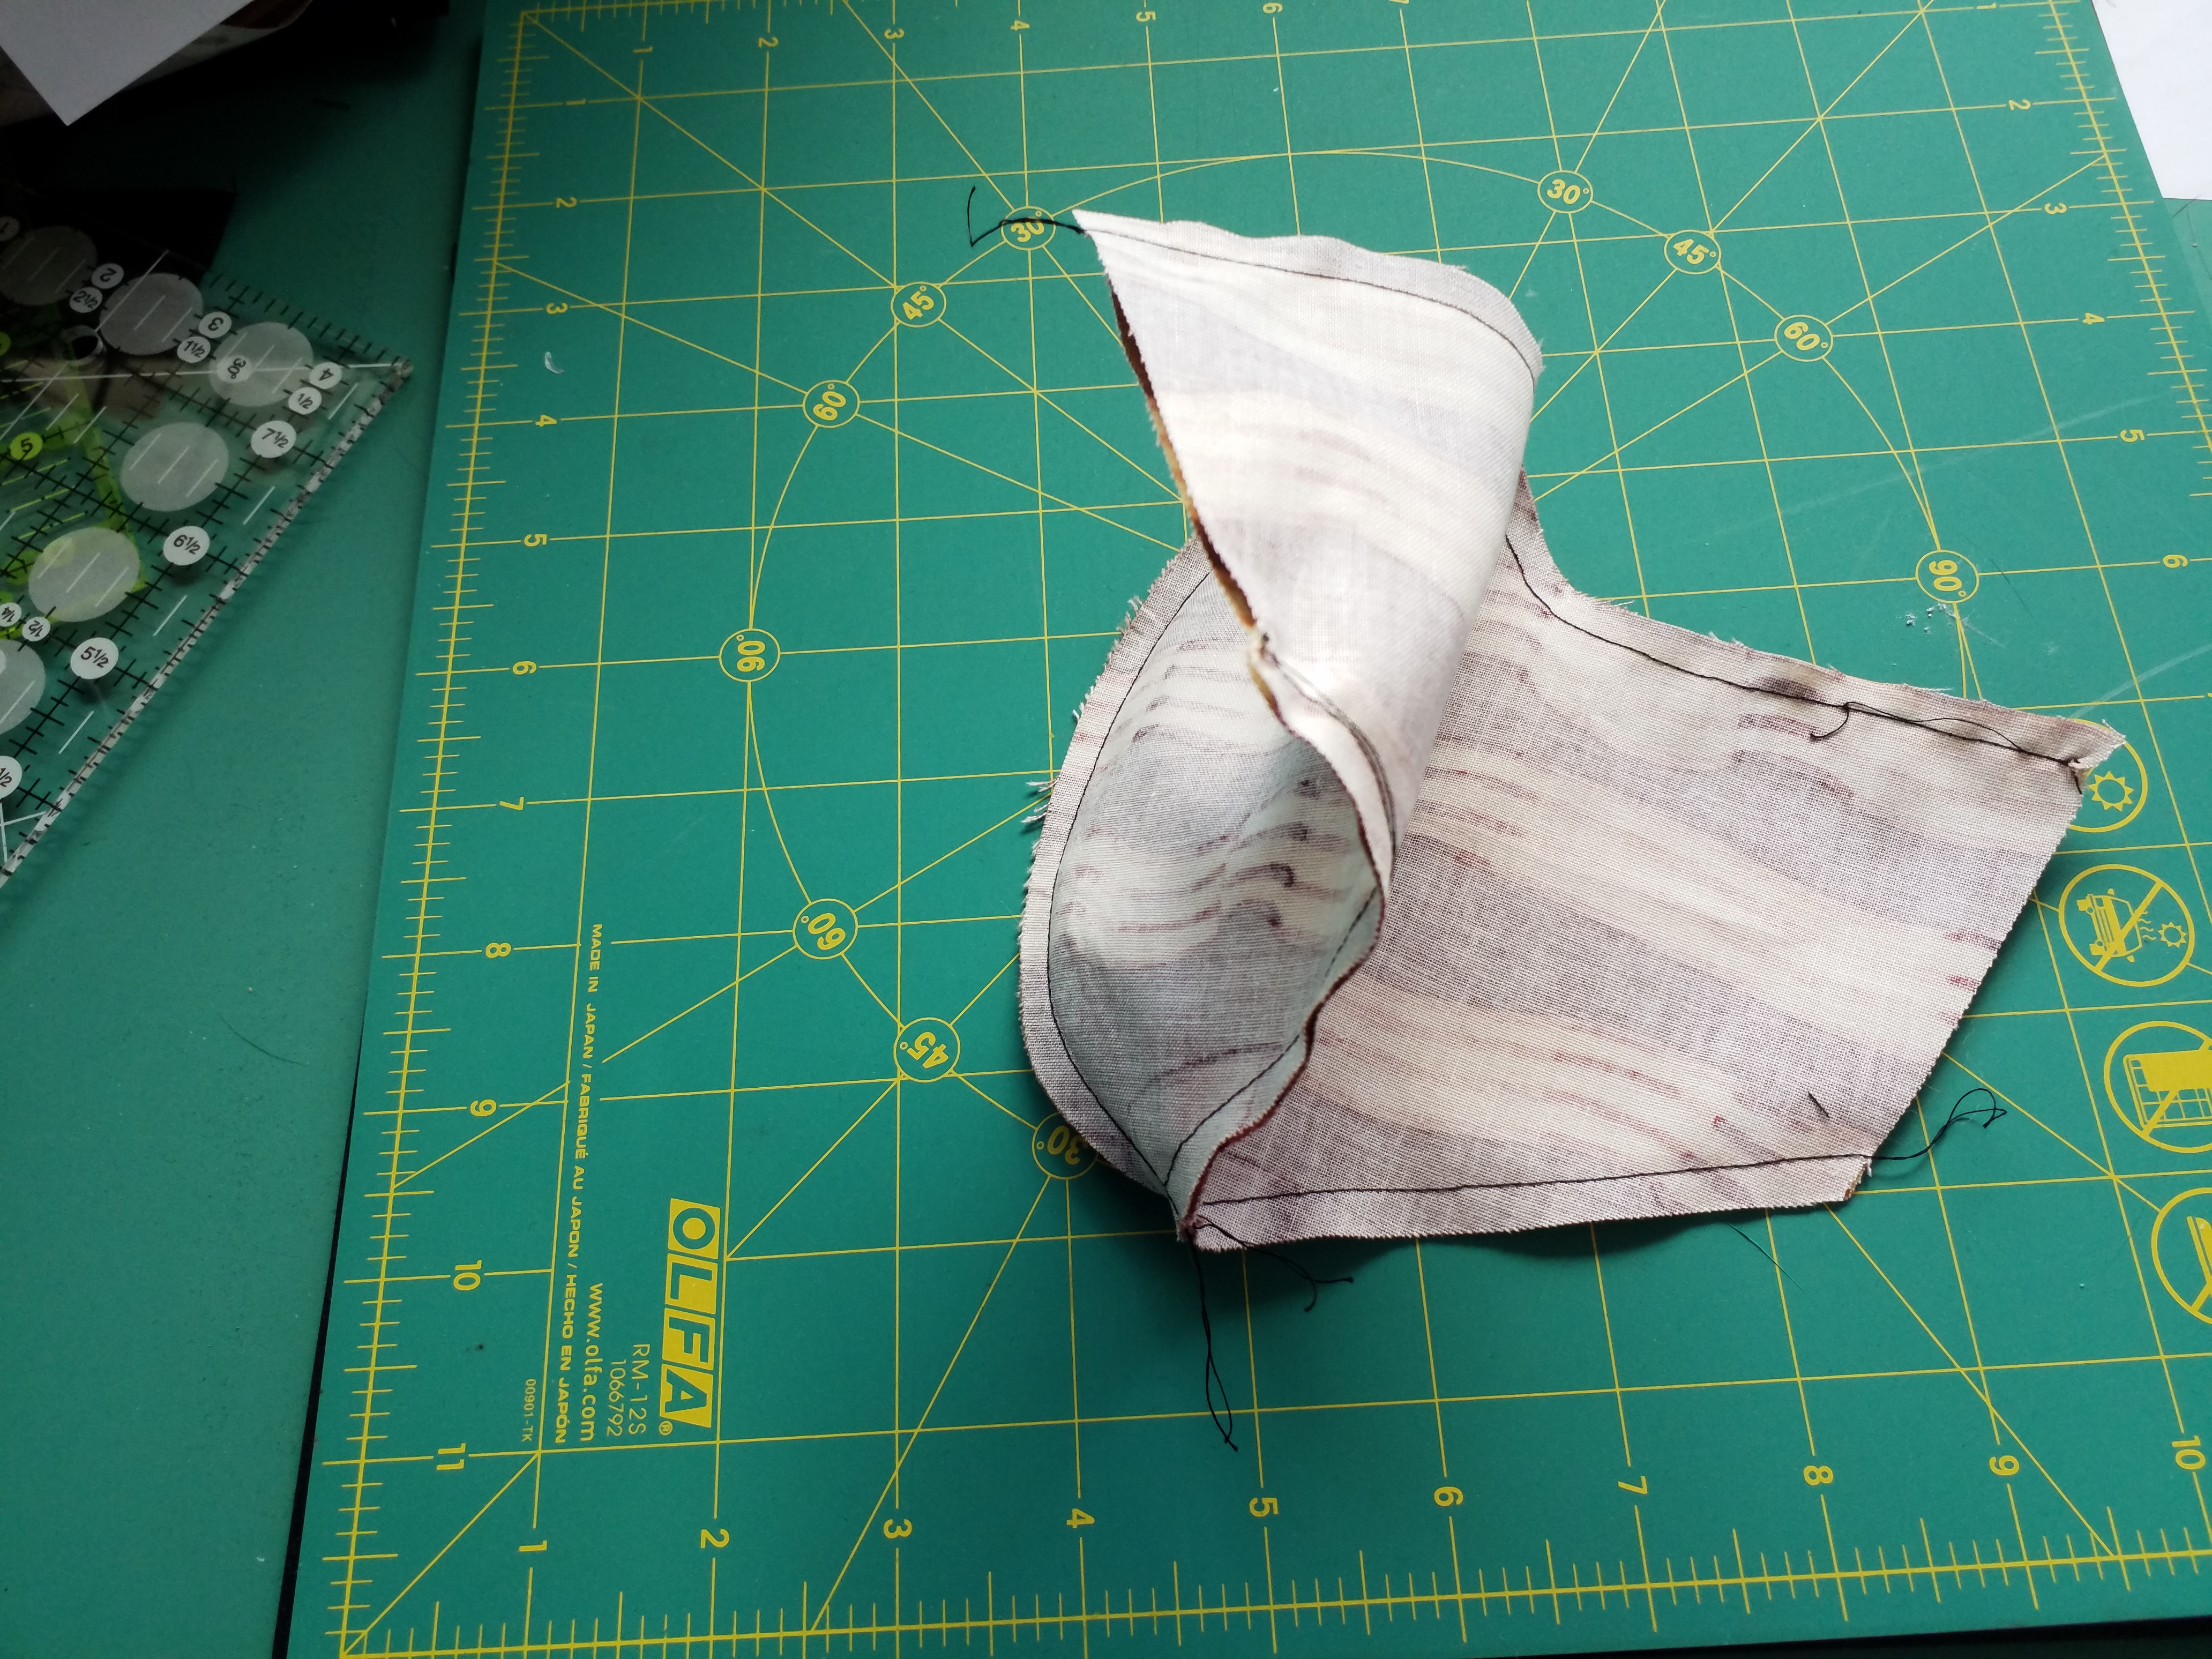
These are the two layers sewn together. Not sure if you can see but I have nested the seams so there should be fabric covering all the seam holes in the front of the mask. I did pin the seam alignment to make sure they stayed nested. I don’t think that would be essential if you were bulk sewing but for my first couple I will. The shape feels a bit odd under the machine but really not hard. I should say blogging this is taking a lot longer than the making did. It took less than 10 minutes to get to this stage. To turn this it is just pulled through one end, then press these seams flat. Again I think a tailors ham would make this easier, but I did it on a flat ironing board.
I was right, the mask was now a little small. It did still fit nicely over my nose, even without a nose wire in yet. So having felt the mask was close before sewing in the lining I decided to make my next sample from the pattern 2 sizes up, which adds back that half an inch. The second test looks huge.
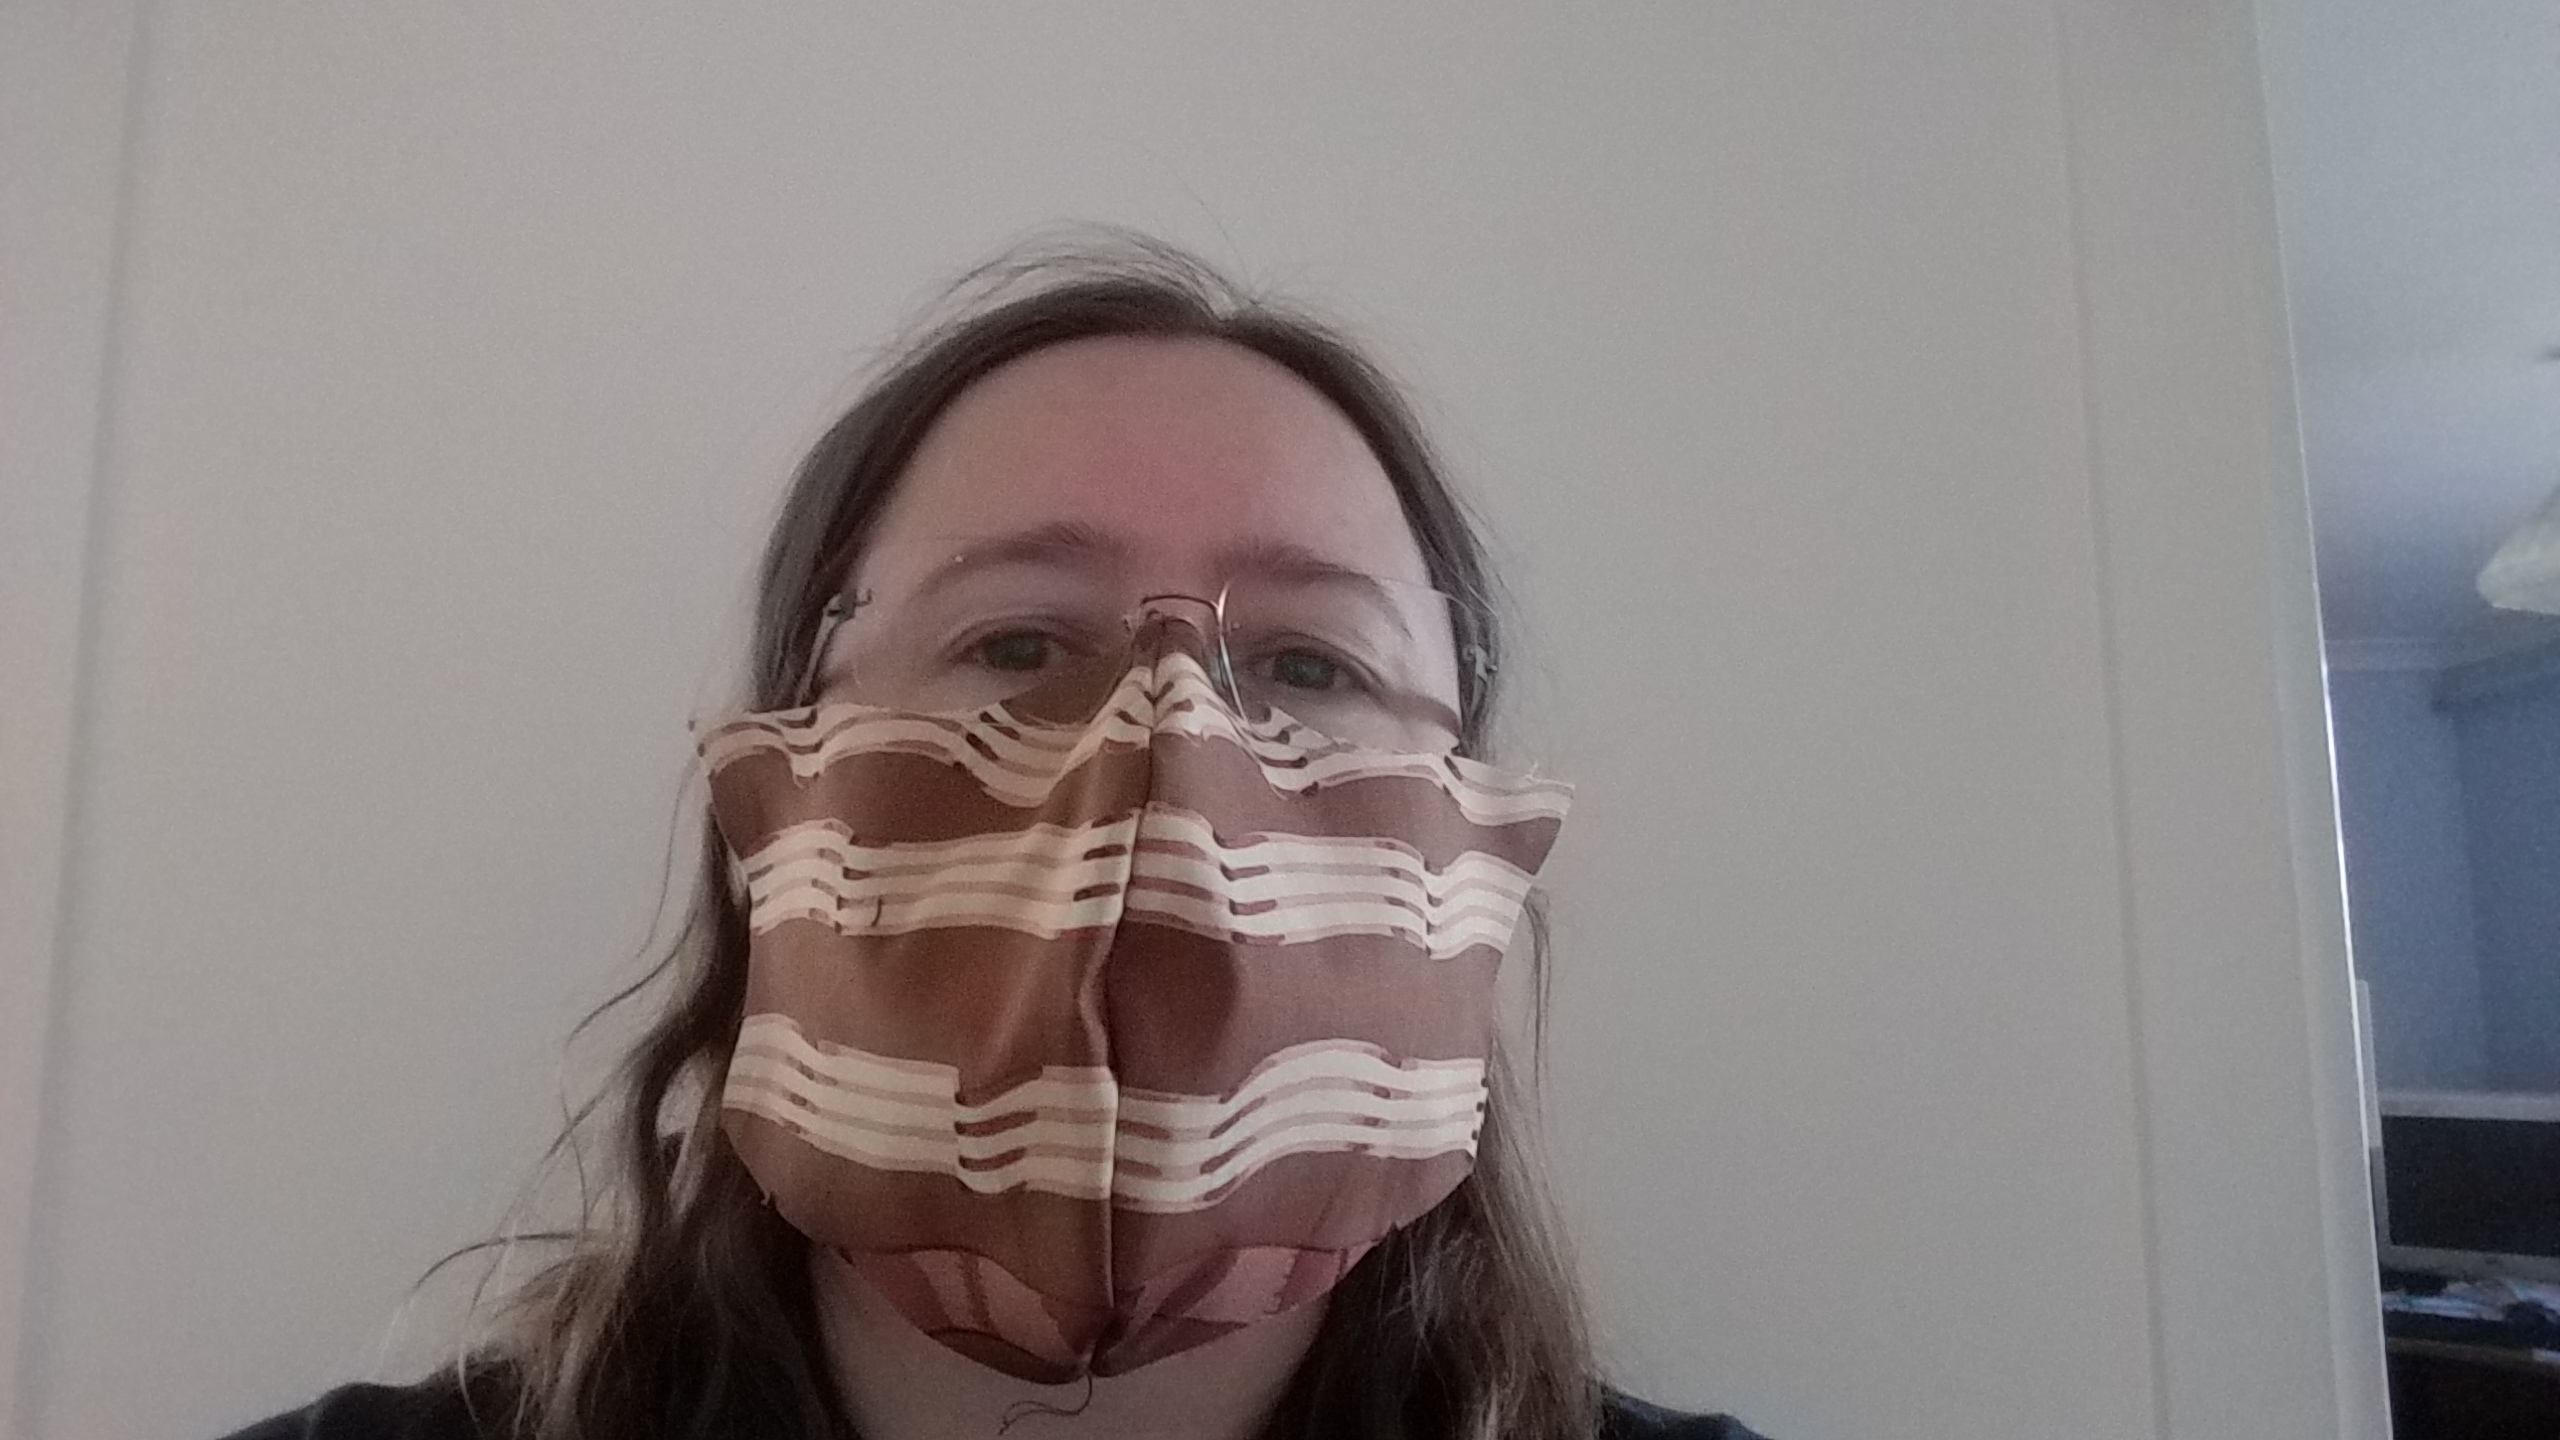
This is before the lining though, after lining it was pretty much bang on, except I wanted to bring it in a little tighter under my chin. That is easy enough to do as the pattern has a center seam, I can add a dart to the seam itself. So I now have a pattern I think will fit nicely. The next step will be making it in a fabric I actually like.